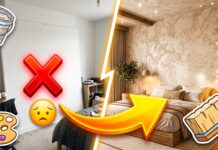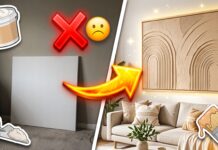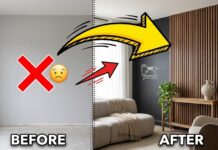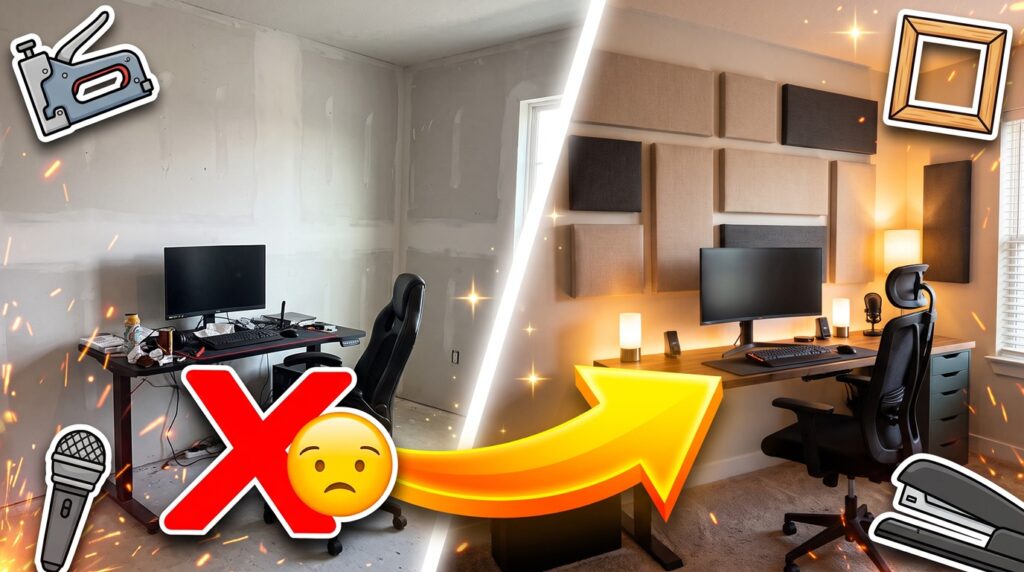
If you are setting up a modern home office, a streaming space, or recording voiceovers for high-quality gameplay guides, you have probably noticed that a room with hard floors and bare walls creates a terrible, hollow echo. While you can spend hours tweaking software settings like DaVinci Resolve Fairlight EQ or adding aggressive noise gates in OBS Studio, digital filters can only do so much to fix bad room acoustics. The secret to getting that rich, professional broadcast sound is physically absorbing the sound waves before they can bounce back into your microphone.
Building your own DIY acoustic panels is the most cost-effective way to transform a highly reverberant space into a controlled, studio-quality environment. Unlike those cheap, jagged foam squares that are typically glued to walls and barely absorb low-frequency noise, custom-built, fabric-wrapped wooden frames look like high-end modern art and offer significantly better sound dampening.
Here is exactly how to construct professional-grade sound absorbers that look like luxury decor rather than a messy recording booth.
Supply Checklist & Preparation
The secret to a highly functional absorber is using dense insulation rather than lightweight packing foam.
- The Frame: 1×3 or 1×4 Select Pine boards for the outer structure.
- The Absorber: Rockwool Safe’n’Sound insulation or Owens Corning 703 rigid fiberglass panels. (These are dense enough to trap mid and low-range frequencies).
- The Fabric: A breathable, aesthetic fabric like linen, burlap, or Guilford of Maine acoustic fabric. Choose colors that complement your room’s palette.
- The Tools: A wood saw, wood glue, corner brackets, a heavy-duty staple gun, and scissors.
- The Hardware: French cleats or heavy-duty D-rings for hanging.
The Fabric Breathability Test: Before buying yards of fabric, hold a sample up to your mouth and try to blow air through it. If the air passes through easily, sound waves will too. If it blocks the air, the sound waves will bounce right off the fabric instead of reaching the insulation inside.
Step-by-Step Tutorial: Constructing the Panels
Step 1: Build the Wooden Frames
Measure the dimensions of your Rockwool or fiberglass panels (typically 24×48 inches). Cut your pine boards to match the perimeter of the insulation perfectly. Assemble the wooden pieces into a rectangle, apply wood glue at the joints, and secure the corners using metal L-brackets and small wood screws.
Step 2: Insert the Insulation
Place your assembled wooden frame flat on the floor. Carefully insert your acoustic insulation panel into the center of the frame. It should fit snugly without bulging out of the front or back. Safety Note: Wear gloves and a mask when handling fiberglass or mineral wool to prevent skin and lung irritation.
Step 3: Wrap the Fabric
Lay your chosen decorative fabric face-down on a clean surface. Place the filled wooden frame on top of the fabric. Pull the fabric tightly over one of the long edges and staple it to the back of the wooden frame every few inches. Pull the fabric taut on the opposite side and staple it. Repeat this for the top and bottom, folding the corners neatly just like wrapping a present.
Step 4: Add a Backing Layer (Optional but Recommended)
To prevent any loose insulation fibers from escaping into your room over time, staple a cheap, lightweight layer of fabric (like plain muslin or landscape weed barrier) across the exposed back of the panel.
Step 5: Mount with an Air Gap
Attach your mounting hardware to the back of the frame and hang it on your wall. For maximum acoustic performance, do not hang the panel completely flush against the drywall. Leaving a 1-inch to 2-inch air gap between the panel and the wall forces sound waves to pass through the insulation twice (once on the way in, and again when bouncing off the wall), doubling your sound absorption power.
3 Pro-Tips for Strategic Placement
- Find the First Reflection Points: Sit at your desk or gaming setup and have a friend slide a mirror along the side walls. Wherever you can see your studio monitors or speakers in the mirror from your seating position, that is your “first reflection point.” Hang your panels exactly there.
- Thicker is Better for Bass: If your room suffers from deep, booming bass echoes, a standard 2-inch panel won’t be enough. Build a 4-inch deep frame and double up the insulation to trap those low frequencies.
- Mix Sizes for Visual Interest: Instead of building four identical large rectangles, build a mix of squares and long rectangles. Hang them in a staggered gallery-wall layout to make the acoustic treatment look intentional and stylish.