If you want to elevate a plain room into a high-end, designer-inspired space, adding a DIY wood slat accent wall is one of the most striking upgrades you can make. In 2026, living room decor is shifting away from flat, predictable layouts toward layered, visually immersive spaces. By utilizing oversized textures, statement materials, and architectural additions, you can turn the room itself into a conversation-driven focal point.
A slatted wood structure is the perfect way to achieve this modern aesthetic. Whether used on the ceiling to make narrow rooms feel taller, or as a room divider to create separation without closing off the space, vertical wood slats bring undeniable warmth and sophistication.
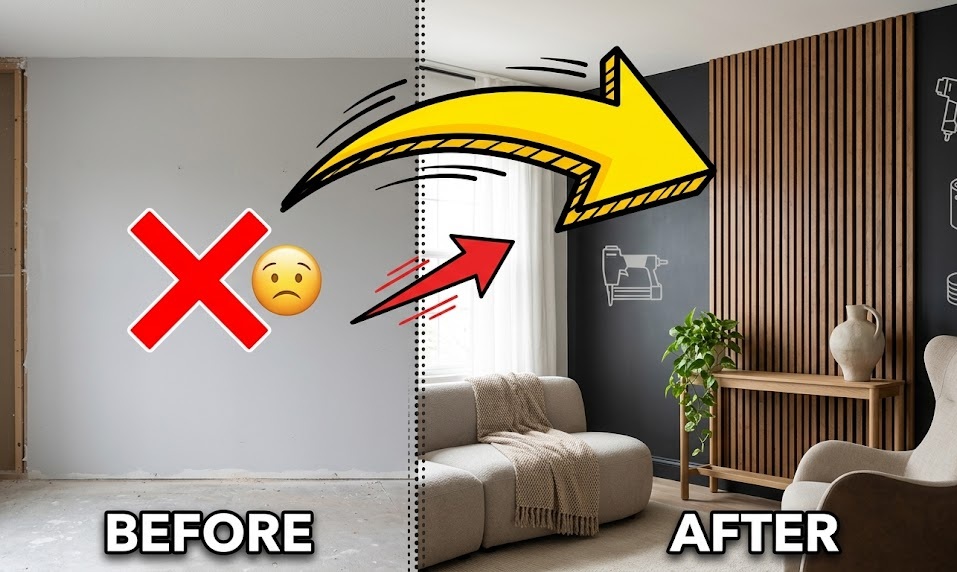
Best of all, you don’t need to hire an expensive carpenter to get this luxury lounge atmosphere in your home. With the right preparation and a clever spacing trick, you can build a flawless slat wall yourself over a single weekend.
Supply Checklist & Wood Selection
For a professional-grade finish, avoid heavily warped lumber. Select straight, lightweight pieces to make the installation process seamless.
- The Wood: 1×2 or 1×3 Select Pine boards. (Oak or walnut offer a gorgeous high-end look, but pine is far more budget-friendly).
- The Backdrop Paint: A dark matte paint (like deep charcoal or black).
- The Spacer: A scrap piece of wood (usually 1/2-inch or 3/4-inch thick) to guarantee perfect gaps between every board.
- The Tools: A brad nailer (with 2-inch nails), construction adhesive, a laser level, and a miter saw.
- The Finish: A wood stain of your choice and a clear matte polyurethane sealer.
Step-by-Step Tutorial: Building Your Slat Wall
Step 1: Paint the Base Wall Dark
To make the wood slats truly pop and give the wall deep, architectural shadows, paint the drywall behind the slats a dark, moody color before you begin. A dark monochrome palette prevents the design from feeling flat and pushes the space toward a luxury hotel suite aesthetic.
Step 2: Prep, Sand, and Stain
Do not try to stain the wood after it is attached to the wall—getting a brush between the narrow gaps will ruin your dark painted background. Sand your pine boards smoothly, apply your chosen wood stain, and let them dry completely in a well-ventilated area before moving them indoors.
Step 3: Install the Crucial First Board
The entire wall relies on the first board being perfectly straight. Apply a thin zigzag line of construction adhesive to the back of your first slat. Place it against the far edge of your wall, use a laser level to ensure it is 100% plumb (vertically straight), and secure it into the wall studs with your brad nailer.
Step 4: The Spacer Trick
Place your pre-cut scrap block (your spacer) flat against the side of your newly installed first board. Apply adhesive to your second board, press it firmly against the spacer block, and nail it into place. Move the spacer down the wall as you nail to ensure the gap remains perfectly identical from floor to ceiling. Repeat this process across the entire wall.
3 Pro-Tips for a Flawless Design
- Stagger Your Seams: If your ceiling is taller than your wood boards, you will need to stack two boards vertically. Cut the boards at different lengths so the seams are staggered randomly across the wall, rather than having a noticeable horizontal line running straight across the middle of your room.
- Account for Outlets: If you hit an electrical outlet, use a jigsaw to carefully notch out the back of the wood slat so it fits perfectly around the plastic faceplate.
- Mix Textures: To keep the room balanced, contrast the strong, rigid architectural lines of your new slat wall with soft, rounded furniture. Adding elements like a low modular sofa or a high-back lounge chair with curved arms breaks up the sharp edges and completes the 2026 designer look.


")


")
