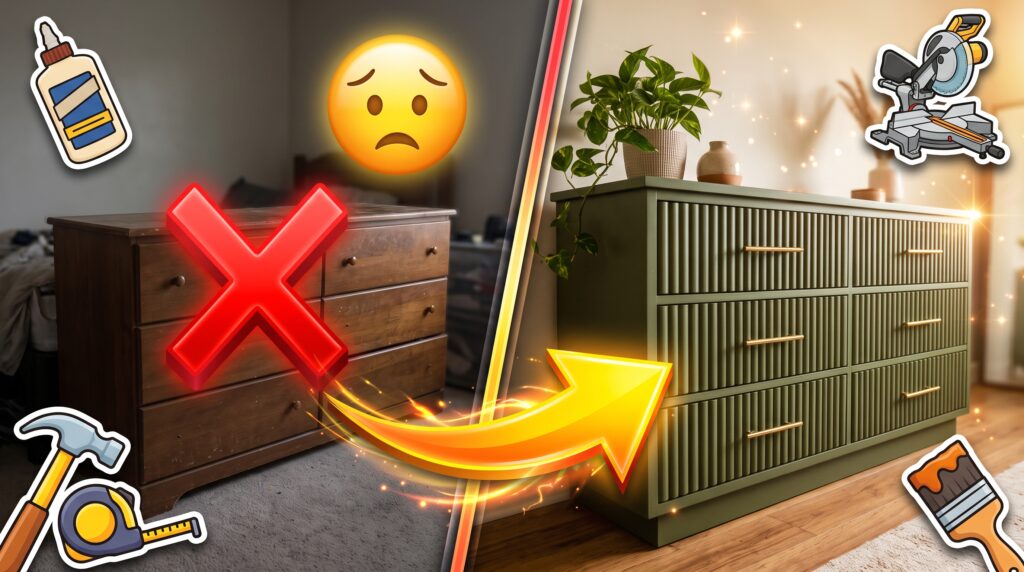
If you are looking to transform a boring, flat-front piece of furniture into a textured modern masterpiece, creating a DIY fluted dresser is one of the most rewarding upcycling projects you can try. Fluted detailing—characterized by repeating vertical cylindrical lines—has completely taken over high-end interior design. However, buying a brand-new ribbed or fluted chest from a designer boutique can easily cost well over a thousand dollars.
By using basic wooden dowels and a little bit of patience, you can recreate this exact luxury aesthetic on a thrifted or outdated dresser for a fraction of the cost.
In this comprehensive guide, we will walk you through exactly how to measure, cut, and attach half-round dowels to your drawer fronts for a flawless, custom-built look.
Supply Checklist & Preparation
For this project, you will be attaching wooden dowels directly to the face of your drawers.
- The Dowels: Half-round pine dowels (usually 1/2-inch or 3/4-inch wide). Half-round dowels lay flat against the drawer much easier than full cylindrical pieces.
- The Glue: High-quality wood glue or Gorilla Glue for a permanent hold.
- The Tools: A miter saw (or a simple hand saw with a miter box), an orbital sander (with 150 and 220 grit sandpaper), and a rubber glue brush.
- The Finish: Wood filler, primer, and a premium cabinet enamel paint or a wood stain.
Pre-Project Tip: Before you buy your dowels, measure the exact height of your drawer fronts. You will need to calculate how many dowels it takes to cover the entire width of all your drawers, which often requires buying them in bulk.
Step-by-Step Tutorial: Building Your Fluted Drawers
Step 1: Prep and Strip the Dresser
Remove all old hardware from the dresser drawers. If your piece has an old, glossy varnish or thick layers of paint, you must remove it so the wood glue has a porous surface to adhere to. You can use a chemical stripper like Citristrip or an orbital sander to bring the drawer fronts down to raw wood.
Step 2: Measure and Cut the Dowels
Measure the vertical height of your drawer faces. Set up a stop-block on your miter saw to ensure every single dowel is cut to the exact same length. Carefully cut your half-round dowels in batches. If your dowels have rough edges after cutting, lightly sand the ends so they are perfectly smooth.
Step 3: Glue the Dowels in Place
Find the exact vertical center of your drawer front and draw a straight line. It is best to start your first dowel perfectly on this center line and work your way outward to the left and right; this ensures the fluted pattern is symmetrical at the edges of the drawer. Apply wood glue to the flat back of the dowel, spread it evenly with a rubber brush, and press it firmly onto the wood.
Step 4: Clamp and Cure
As you lay the dowels side-by-side, make sure they are tightly packed with absolutely no gaps in between. Once the drawer face is fully covered, place a heavy board or use woodworking clamps to hold the dowels down flat. Allow the glue to cure overnight (at least 24 hours).
Step 5: Sand, Prime, and Paint
Once the glue is rock-solid, use your orbital sander with 220-grit sandpaper to smooth out the top and bottom edges where the dowels meet the edge of the drawer. Apply a high-quality bonding primer to the entire dresser. Finally, paint the piece in a modern shade—like a deep olive green, matte black, or warm beige—to complete the high-end look.
3 Pro-Tips for a Flawless Finish
- Check for Warped Wood: When purchasing half-round dowels at the hardware store, inspect each one by looking down its length. Warped or bowed dowels will not sit flat against your drawer and will ruin the seamless look.
- Use a Rubber Glue Brush: Spreading wood glue with a specialized silicone or rubber brush ensures maximum adhesion without messy glue squeezing out between every single dowel.
- Mind the Hardware: Because the front of your drawers will now be textured and thicker, you will likely need longer screws to attach your new cabinet knobs or pulls.